How much does a screen room cost in Kansas City?
Adding screening to an existing covered structure runs $4,000–$10,000 depending on complexity. The $25,000–$48,000 figures you'll see online are for building a new covered structure from scratch — a completely different project that most people calling about screen rooms don't need.
Does a screened porch add value to your home in Kansas City?
Honestly, the data isn't there to say with confidence. The ROI figures circulating online — 84%, 100% — aren't KC-specific. They're national averages dressed up as local data by content writers. A screen room reliably adds usability. Whether it adds resale value depends on your buyer.
Why do screen rooms fail?
The system and the fabric are two different choices, and either one can sink it. Spline systems need thin screen to work at all. But a good no-spline system with standard fiberglass screen in it fails too — just from the fabric side. You need both halves right.
What is ScreenEze?
A no-spline screen system that locks screen in place using an aluminum base rail and rubber cap strip. Rated for a 10-year life expectancy. We're in our ninth year as ScreenEze Certified Installers. Worth knowing: the system doesn't dictate the fabric — two contractors can both quote ScreenEze and put different screen in it.
What screen material should be used?
Standard insect screen is fiberglass mesh. We use Phifer TuffScreen (#1713), a vinyl-coated polyester that Phifer rates three times stronger than standard fiberglass and warranties for 10 years. Get the fabric named in your quote, not just the system.
Will I have to replace my railing?
Sometimes. A wide wood top rail can sit exactly where the screen track needs to land, and then it has to come out. Even when it fits, you can't refinish wood railing that close to screen fabric without getting product on the screen.
What's the difference between a screen room and a screened porch?
The names get used interchangeably, but the meaningful difference is whether you're adding screening to an existing covered structure or building something new from scratch. Those are two very different projects with very different price tags.
Most of the homeowners who call us about screen rooms have already been online. They've seen numbers like $25,000 or $48,000 and either assumed they couldn't afford it and almost didn't call, or they called us with a budget built around those figures expecting something they're not going to get for that money.
Both situations cause problems. And both stem from the same source: the internet conflates two completely different projects under the same name.
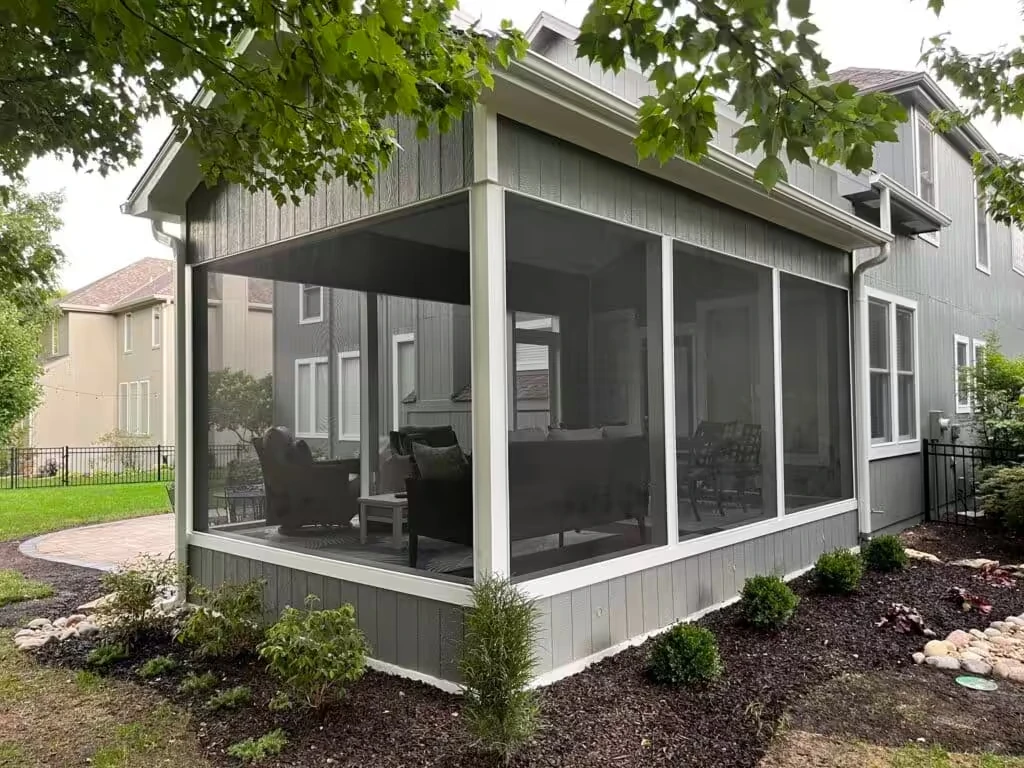
A screen enclosure added to an existing covered structure — an existing deck with a roof, an existing covered porch — costs $4,000 to $10,000 in the Kansas City area, depending on complexity. Building a new covered structure from scratch and then screening it is a separate project entirely, with a separate budget. Those are not the same thing, and most of the content online treats them as if they are.
We've been installing screen rooms across the Kansas City metro into our ninth year now. What follows is what we've actually learned — about costs, about systems, about what holds up and what doesn't.
The ROI Numbers Online Are Not What They Appear to Be
Search for screened porch ROI and you'll find numbers like 84% or 100% presented as established fact. One local competitor's blog cites a single realtor's opinion as proof that screen rooms return 100% in the Kansas City market. That's not data — that's a content writer quoting a one-line anecdote and packaging it as research.
The 84% figure that gets cited most often comes from a Hanley Wood survey of national remodeling projects. It covers a range of project types across a range of markets and is not specific to Kansas City or to screen enclosures added to existing structures. By the time it ends up on a local contractor's website, those qualifications are gone.
I don't know what a screen room does to resale value in Kansas City. I haven't seen KC-specific appraisal data that answers that question cleanly. What I do know is that a screen room makes your outdoor space usable — that you can sit outside in June and July in Kansas City without being driven inside by mosquitoes. That's real. Whether the next buyer values it the same way you do is harder to predict.
If you're building a screen room primarily as a financial investment, I'd want you to go in with honest expectations. If you're building it because you want to use your outdoor space without being eaten alive, that case is much easier to make.
What a Screen Room Actually Costs in Kansas City — And What Drives the Price Up
When we're adding a screen enclosure to an existing covered structure, the base range is roughly $4,000 to $10,000. Here's what moves the number:
| Situation | What It Affects |
|---|---|
| Ground-level structure, straightforward layout | Lower end of range — $4,000–$6,000 |
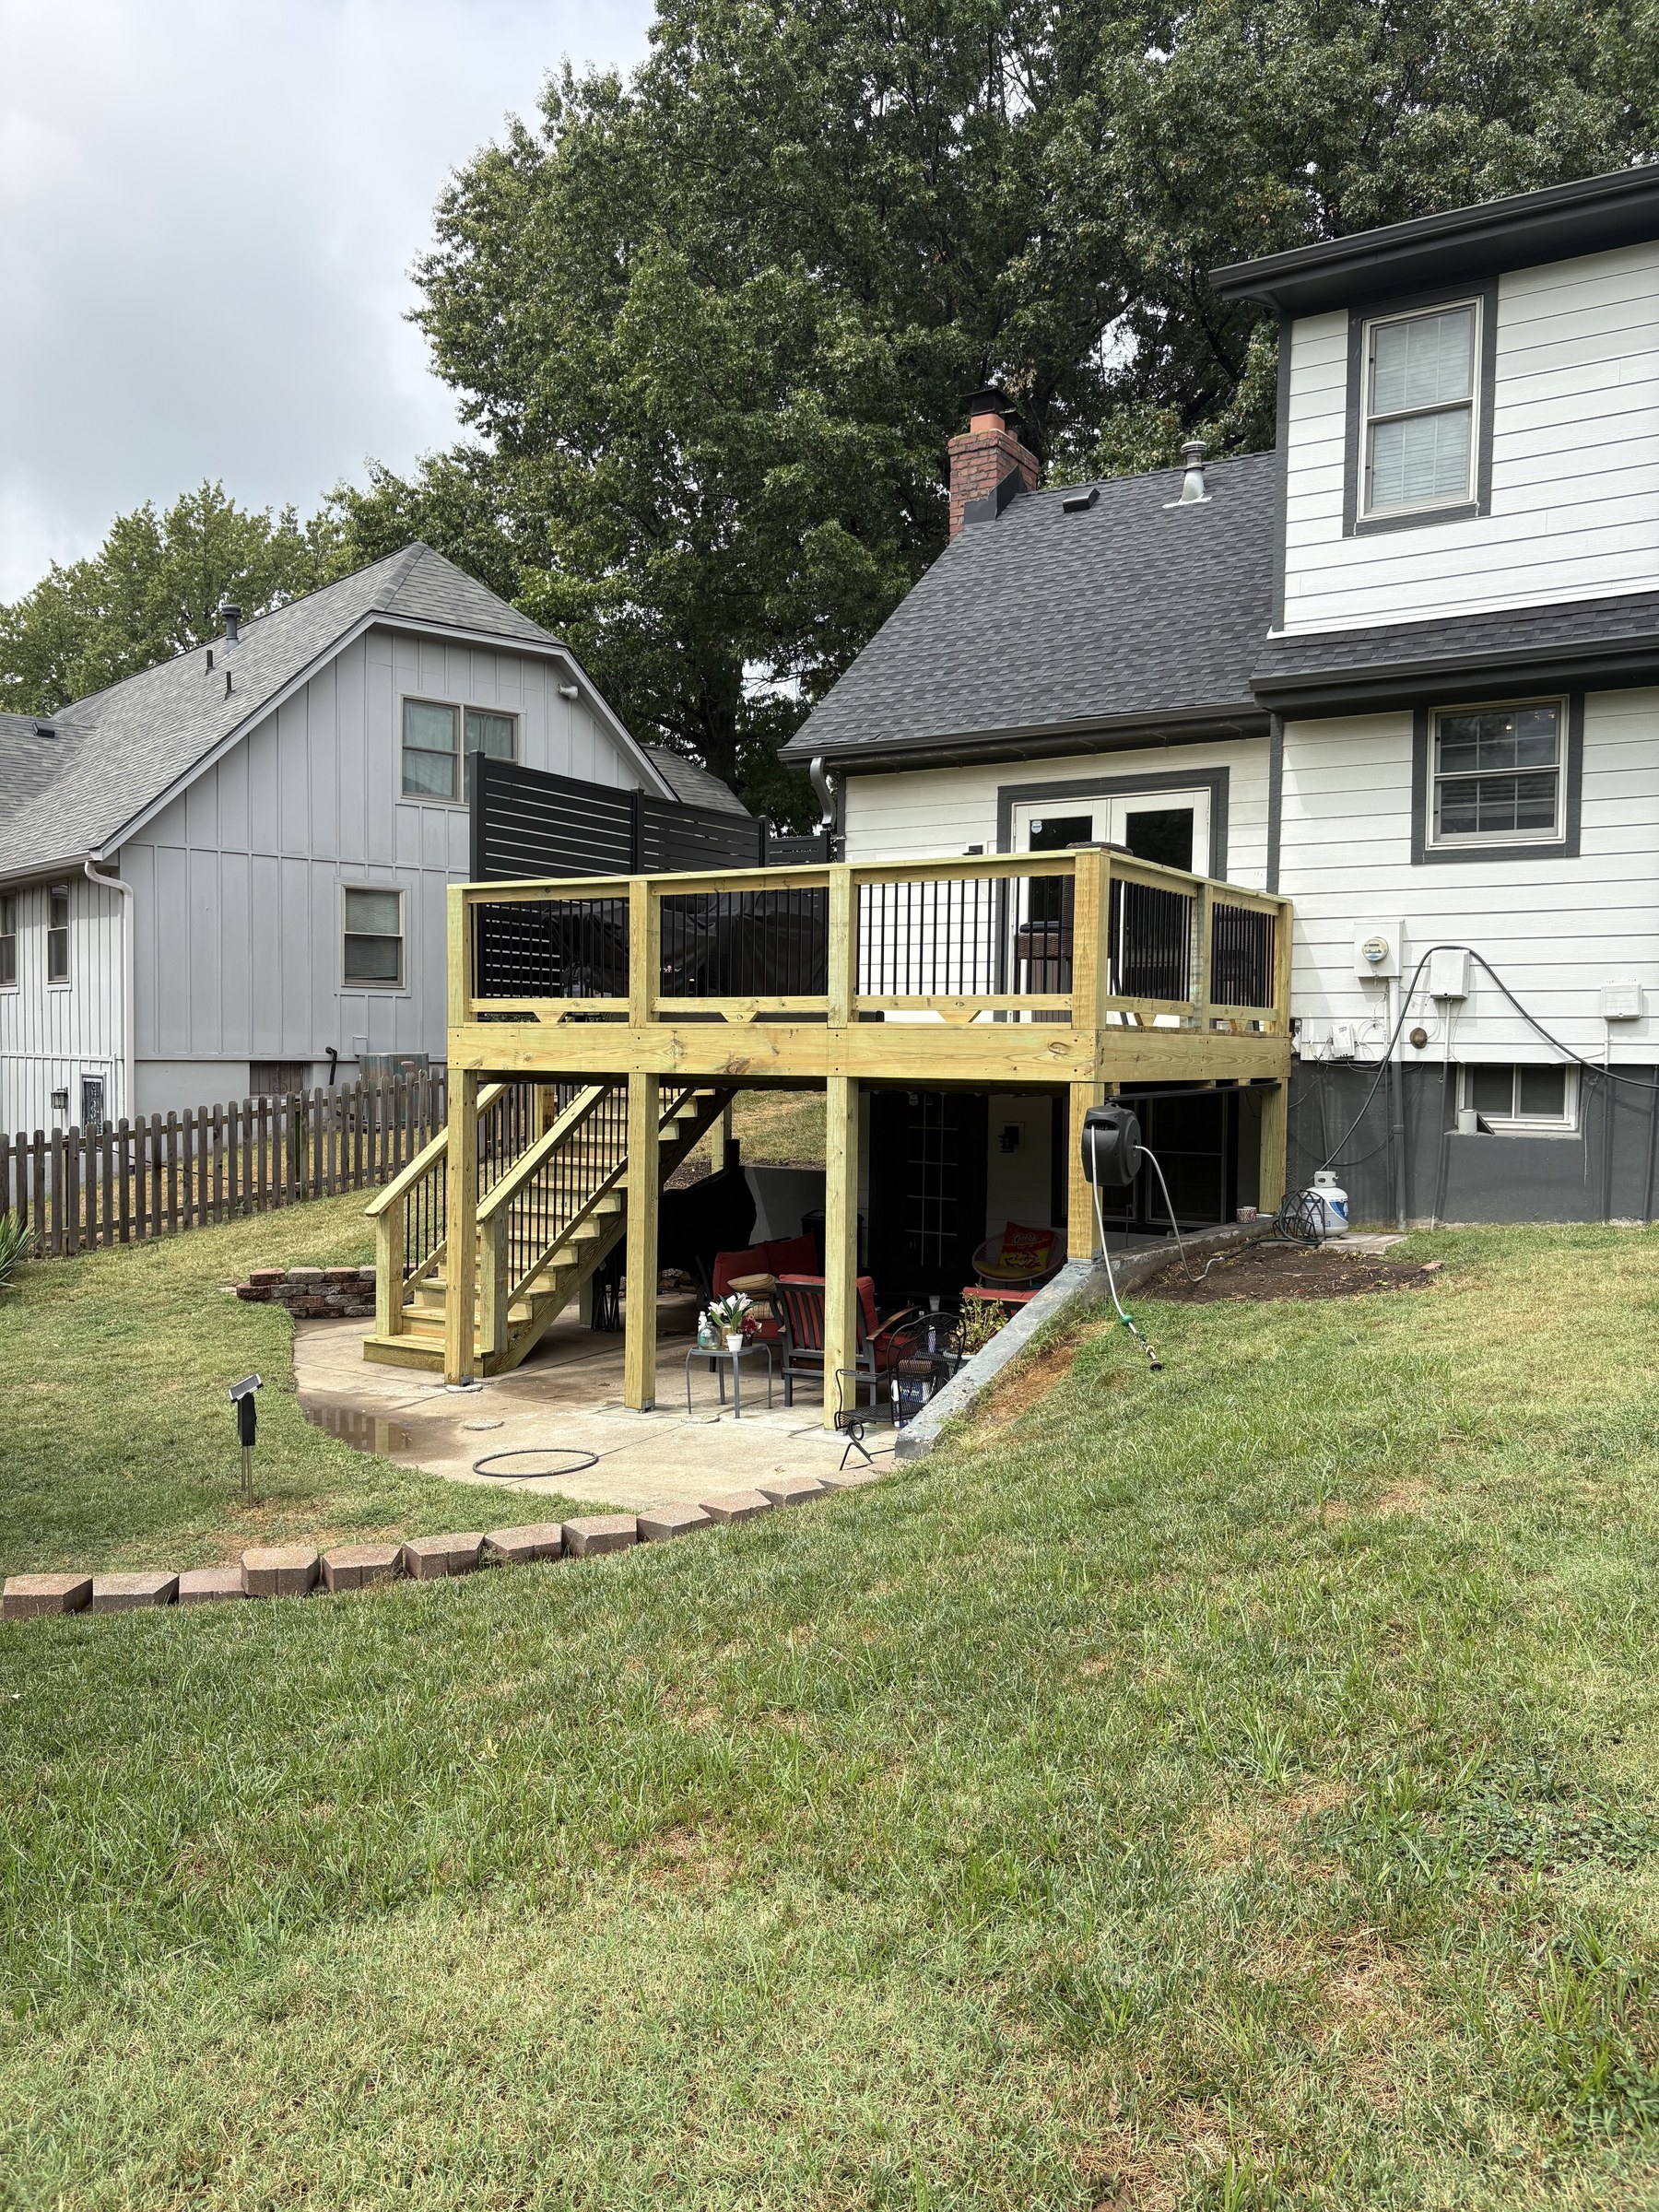
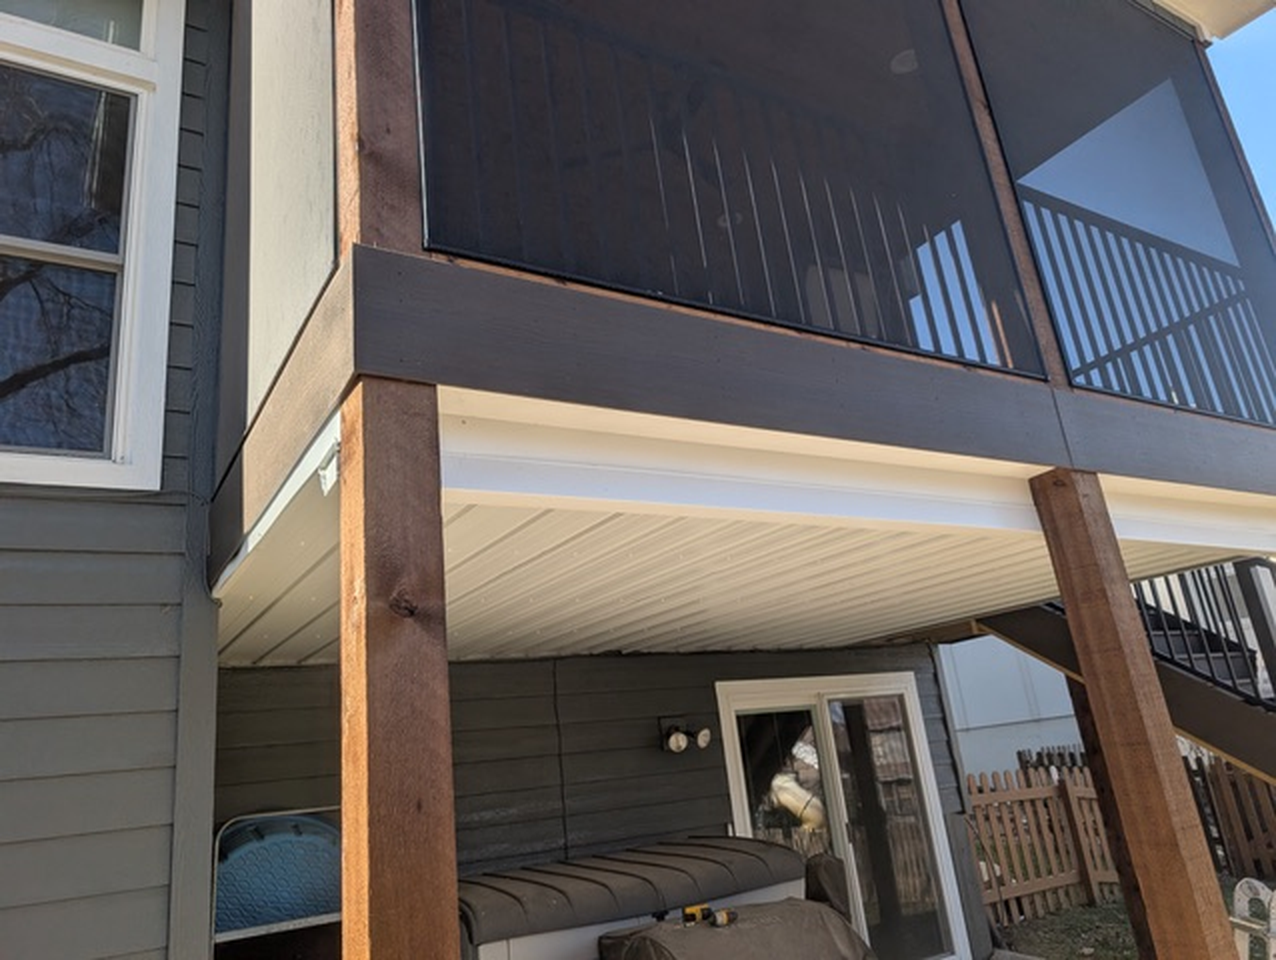
| Second-floor deck | Access and staging add cost — pushes toward upper range |
| Door framing required | Adds labor and material; necessary for most projects |
| Significant retrofitting of existing structure | If the existing frame isn't square or needs modification, costs climb quickly |
| Railing has to be reconfigured or replaced | Depends entirely on what's there now — see the next section |
| Building a new covered structure first | Completely separate project — different budget conversation entirely |
Most homeowners who call us can tell us fairly quickly which category they're in. If you have an existing covered porch or deck with a roof and you want to screen it in, you're in the $4,000–$10,000 range. If you're starting from a bare deck with no roof and want to end up with a covered screened space, that's a covered structure project first — which we do as well, but the budget conversation starts differently.
We take the same approach to deck pricing, for what it's worth. If you want to see where the money actually goes on a deck rather than a screen enclosure, we published real configurations and real numbers rather than a range with no math behind it.
The Surprise Most Homeowners Don't See Coming: The Railing
When we're screening in an existing covered deck, the most common thing that catches homeowners off guard isn't the screen system or the cost. It's the railing.
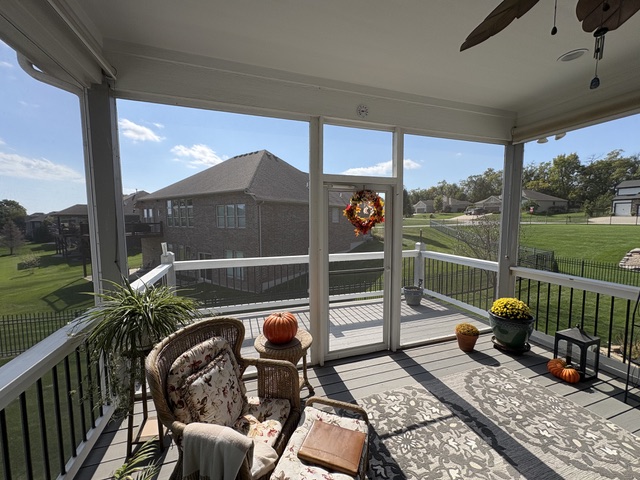
Two problems, and they're separate. The first is clearance: a wide wood top rail can physically occupy the space where the screen track needs to land. When that happens, the railing isn't a style preference anymore, it's in the way, and it comes out. The second is maintenance. Even when the railing fits, you've now got wood sitting inches from screen fabric that still needs to be stained or painted on a cycle — and you can't refinish it without getting product on the screen. What used to be a routine weekend job becomes slow, careful work around something you can damage.
We ran into exactly this on a job in Kansas City: the existing wood guardrail was in the way of the ScreenEze system going in, so it came out and was replaced with a Westbury Tuscany aluminum system. Narrow profile, nothing to refinish, ever.
The practical takeaway is that if a screen room is anywhere in your plans — even years out — your railing choice is already partly a screen decision. We went deeper on that in our post on what actually fails in deck railings, including why post attachment matters more than the material you pick.
Why Most Screen Rooms Don't Hold Up — And What We See When We're Called to Replace Them
About 15% of our screen room work is replacing systems that someone else installed. The failure looks the same almost every time: screen that's gone loose, torn, or missing in sections within a few years of installation.
The reason is almost always the combination of a spline-based system and cheap screen material. Here's why those two things tend to go together.
Spline systems work by pressing screen into a channel using a rubber spline — essentially a cord that locks the screen in place by filling the groove. The problem is that heavier, more durable screen materials like TuffScreen are very difficult to install using spline — and in many situations, nearly impossible. The screen is too stiff and too thick to compress into the channel cleanly. So contractors who are committed to a spline system end up using thinner, cheaper screen because it's the only material that cooperates with the installation method. That thinner screen then fails — it stretches loose, it tears at the edges, it degrades faster in KC's summer heat and UV exposure.
We see the result of that combination regularly. The homeowner thought they had a screen room that would last. What they actually had was a material and installation method combination that was never going to hold up.
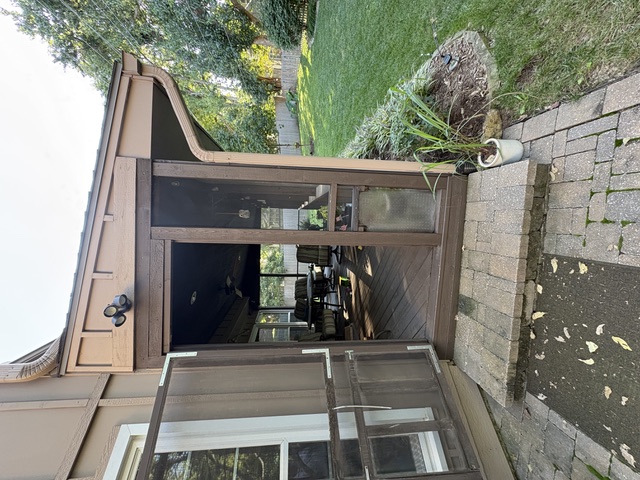
Why We Use ScreenEze — And What Nine Years With One System Actually Shows
We've installed ScreenEze exclusively since we started with it, and we're in our ninth year as certified installers. I recommend it not because it's a popular choice but because I've watched it perform long enough to trust it.
ScreenEze is a no-spline system. Instead of pressing screen into a channel with a rubber cord, it uses an aluminum base rail that gets fastened to the frame and a rubber cap strip that locks the screen in place over it. Because there's no spline channel to fight, the system works cleanly with TuffScreen — which is significantly heavier and more durable than the screen materials typically used in spline installations.
Two installation details that get skipped more than they should — and that the manual doesn't fully spell out.
First, predrilling. Because the base rail sits at the end of the framing member and the track is only 3/4 of an inch wide, you're working in a very tight margin. If you drive screws without predrilling, you risk splitting the wood — you're at the end grain where it's most vulnerable. Every screw location gets predrilled before anything goes in.
Second, the angle. Because the track is only 3/4 of an inch wide, driving a screw straight in doesn't give you enough wood purchase for a secure fastening. We angle every screw at roughly 10 degrees, driving into the outer portion of the track. That angle is what gets the screw into enough material to hold over time. It's not in the manual — it's something you figure out after enough installs when you understand why straight-in doesn't work on a track this narrow.
The manufacturer specifies screws at 10 to 12 inches on center, always starting 2 inches from either end of each cut piece. We follow that exactly. We've gone out on repairs where screws were at 16-inch centers or spaced with no real pattern at all. When the fastening is too far apart, the cap strip lifts between screw points and the screen starts to lose tension at the edges. It looks like a screen failure. It's actually an installation failure.
We're in our ninth year with the system, and across that span we've averaged fewer than one callback a year. Storms are the main culprit — not the installation and not the system. Kansas City weather will eventually put hail or a branch through a screen panel, and when it does, that panel needs replacing. That's the honest shape of it: the failures we go back for are mostly weather, not workmanship.
The one I'd put on us rather than the weather was a cold-weather installation where I believe the rubber cap strip cracked during install — a process issue, not a product failure. The screen came loose. We went back and fixed it.
We also did a repair on a ScreenEze installation a few houses down from the very first job we ever did with the system. That original installation was over eight years old. The screen was still taut. A little dusty, a little dirty — but holding exactly as it should. That's what the product's 10-year life expectancy claim actually looks like in practice, at least in our experience.
The Other Half of the Spec: The Screen Itself
Here's the part that gets lost, and it matters if you're comparing bids: the installation system and the screen fabric are two separate decisions. A contractor can install ScreenEze correctly and still put standard screen in it.
We use Phifer TuffScreen, product #1713, on every job. It isn't the fiberglass mesh that standard insect screen is made from — it's a vinyl-coated polyester. Phifer rates it three times stronger than standard fiberglass and warranties it for 10 years. I'll be straight that the 3x figure is Phifer's, not a test we ran. But the difference is obvious the first time you handle a roll of each, and it shows up in the field: I've had full-size Rottweilers bolt through a screen door without knowing the screen was there and just bounce off. No damage to the system. That's not something you see with standard screen material. The weight and weave of it is genuinely different.
Now put the two ratings side by side. ScreenEze is rated for a 10-year life expectancy. TuffScreen carries a 10-year warranty. Install them together and both halves of the assembly are built to the same horizon. Install that same 10-year rail with standard fiberglass screen and the fabric becomes the weak leg — the rail will still be straight and sound years after the screen in it has stretched loose, torn at the edges, or faded out.
So if you're looking at two quotes and both of them say ScreenEze, that is not the end of the conversation. Ask what fabric is going in it. Same system, different screen, different lifespan — and the difference is a line item, not a rebuild.
What that does buy you is still meaningfully better than the alternative. You're replacing fabric in one opening while the rail, the cap strip, and the rest of the enclosure stay exactly as they are. On a spline system, re-screening usually means pulling and reinstalling the entire spline run — and you're buying new screen anyway. Same material cost, far more labor, and more of the assembly disturbed to get there.
Worth adding what's failing when we're called to another company's ScreenEze job: it isn't the system. The base rail is almost always sound and straight. What's gone is the fabric in it or the fastening holding the cap strip down — standard fiberglass in a good rail, or screws run at 16-inch centers instead of 10 to 12, will each get you there on their own.
What to Ask Before You Hire Anyone for a Screen Room
- What installation system do you use? If the answer is a generic spline system with no specific product name attached, ask what screen material they're planning to use with it. Thin screen and spline is a combination that tends to fail.
- What screen material do you spec — and is it named in the quote? This is separate from the system, and it's the question most homeowners skip. Two contractors can both say ScreenEze and install different fabric in it. Standard insect screen is fiberglass mesh; heavy-duty material like Phifer TuffScreen is vinyl-coated polyester carrying its own 10-year warranty. Get the fabric named in writing, not just the system.
- How long have you been installing this system? Installing screen systems correctly takes practice. A contractor who switched systems recently doesn't have the same track record as one who's been using the same system for years.
- Can you show me a job from three or more years ago? Any contractor confident in their system should be able to point you to existing installs. Screen that looked good at completion isn't the test — screen that still looks good after three Kansas City summers is the test.
- What happens to my railing? Ask before the quote is finalized, not after the crew shows up. If the answer is vague, that's a cost that's going to appear later.
- Are you a certified installer for the system you're recommending? It's not the only measure of quality, but it tells you the contractor has a formal relationship with the product. It can also matter for coverage — manufacturer warranties are generally conditioned on installation to spec, and certification is how that gets documented.
Acumen Renovations installs screen rooms and exterior additions across the Kansas City metro — using systems and materials we're willing to stand behind after nine years with them.
If you want to talk through what a screen room would look like for your specific situation — what the project actually involves and what it would cost — we're happy to have that conversation. Reach out here.